The activity below draws from the content in the page Weather Patterns.
Teacher Note: To meet the full requirements of NGSS PE 3-ESS2-1, we encourage students to also do the Build a Rain Gaugeactivity, where they will track seasonal patterns and present their data in table and graphical displays.
Phenomenon:
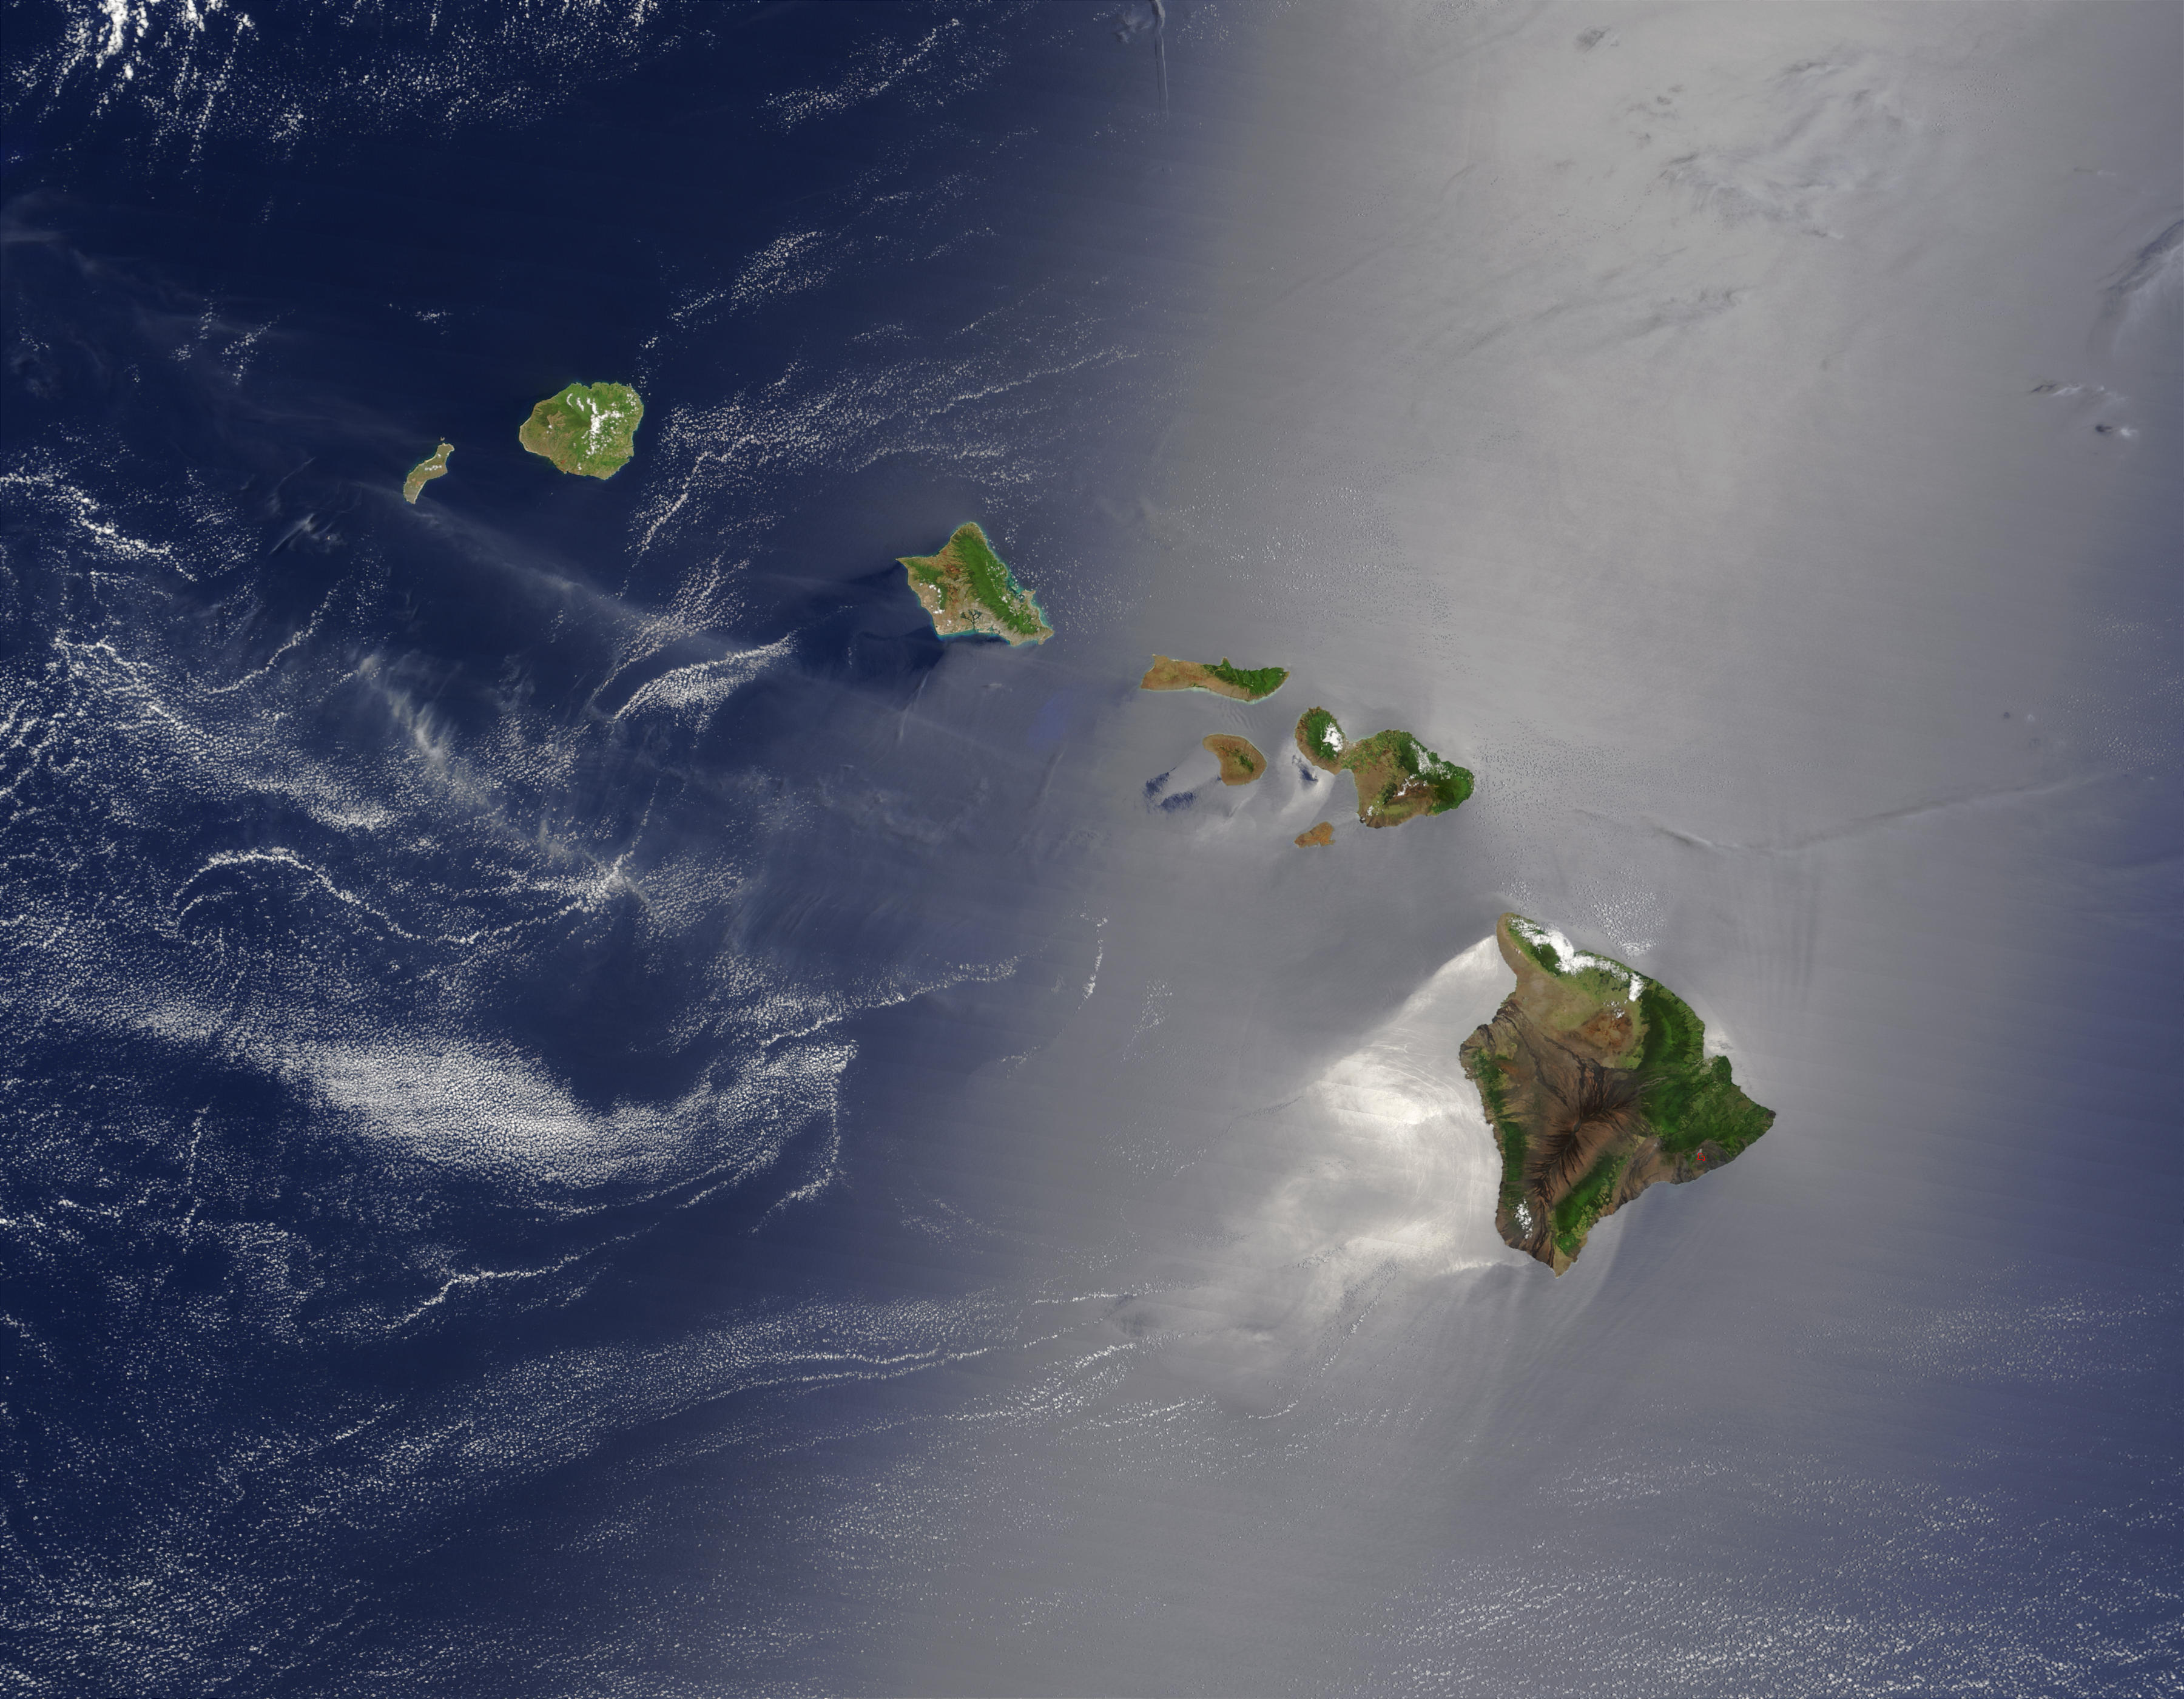
The East sides of the Hawaiian Islands are greener than the West sides (Fig. 1).
Image
Image caption
Fig. 1. The Hawaiian Islands as seen from space on May 27, 2003. Notice that the East-facing (windward) sides of the islands are green. The West-facing (leeward) sides of the islands are more brown and dry.
Image copyright and source
Image Courtesy of Jacques Descloitres, MODIS Rapid Response Team, NASA/GSFC
Inquiry:
Why are the East sides of the Hawaiian Islands greener than the West sides (Fig. 2)?
Image
Image caption
Fig. 2. As Easterly tradewinds move across the islands, they bring rain to the windward areas.
In HawaiК»i, wind blows mostly from the East-Northeast. The windward sides of the Islands face these Easterly winds and tend to be rainier, and greener, than the West and South-facing leeward areas.
TABLE 1. Links for real-time wind strength and direction in HawaiК»i
How does the wind interact with land to form rain?
How do clouds form?
Activity:
In this activity, you will first explore the interaction between wind and mountains to create rain. Next, you will model formation of clouds in a bottle.
Materials:
Student worksheet and Teacher answer guide (attached below)
This teacher guide follows the procedure written here and in the student worksheet with additional instructions and guidelines. We highly recommend starting this activity by introducing the Phenomenon, Inquiry, and Guiding Questions from the top of this webpage.
Part A: Here Comes the Wind
Clear plastic tray with sides
Thin paper
Tape (enough to tape strips of paper to the plastic tray)
Water (enough to fill the bottom of the tray)
Optional: Blue food coloring (to help see the water)
Part B: Make a Cloud
Clear jar with a lid
Hot water (hot tap water will work, but hot water from a kettle works better)
Matches or an incense stick and a lighter (SAFETY ALERT: adult supervision is needed!)
Ice cubes
Teacher Recommendations
Notes on materials for part A:
a refrigerator tray or storage box works well for the plastic tray (shallow/low sides works better for blowing easily!)
For the thin paper, tissue paper, light weight paper towel, or toilet paper are effective
Be sure to have enough tape to attach strips of paper to the plastic tray and enough water to fill the bottom of the tray
Notes on materials for part B:
A glass mason jar or thick plastic jar (like an empty peanut butter jar) with lids work well.
Be sure there is enough water to wet the bottom of the plastic jar
There are multiple methods for the cloud in the jar experiment. Check out these resources below for a different protocol:
Follow along on your worksheet as you go model the wind!
Tear or cut your paper into a few (3-5) thin strips.
Image
Image caption
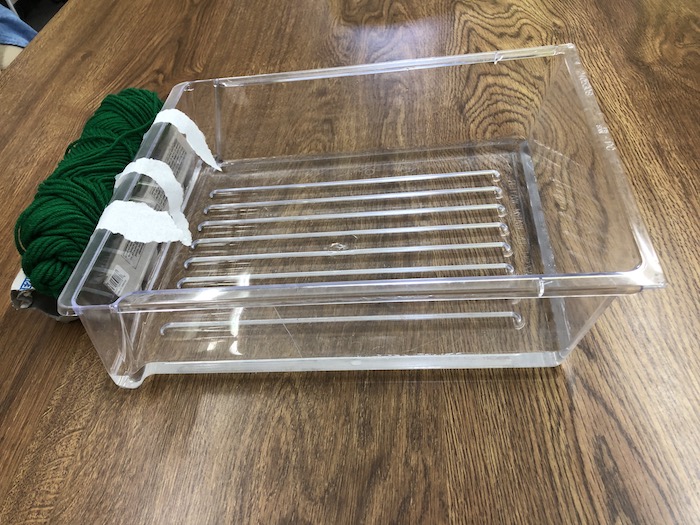
Fig. 3. Plastic tray with paper strips taped to the "windward" side.
Image copyright and source
Image by Kanesa Duncan Seraphin
Tape the strips to one end of the plastic tray (Fig. 3).
The strips should be taped to the outside but face into the tray.
The side of the tray with the paper strips represents the windward mountains.
Fill your plastic tray with enough water to cover the bottom. The water represents the ocean. If you want, you can add a few drops of food coloring.
You are the wind! Model the movement of Easterly trade winds across the ocean:
Blow along the bottom of the tray (toward the paper strips). You should see waves form on the surface of the water.
Observe what happens to the paper strips.
Record your observations and answer activity questions #1-5.
Part B: Make a Cloud
Continue following along your worksheet for part b!
With supervision from an adult, cover the bottom of the jar with a thin layer of hot. Swirl the water around so it touches the sides as much as possible.
Attach the lid to the jar and place ice cubes on top.
Observe what happens inside the jar. Do you see a cloud forming?
Remove the lid and place the ice cubes to the side. With supervision from an adult, light a match and let the smoke go into the jar. Drop the match into the water to put it out and quickly attach the lid.
(Note: If you are using incense, let the smoke from the incense go into the bottle and then attach the lid).
Place the ice cubes back on top of the jar.
Observe what happens inside the bottle. Do you see a cloud forming?
Take off the lid and watch the cloud escape!
Record your observations and answer questions #6-14.
Activity Questions:
Part A: Here Comes the Wind
What happened to the paper strips when you blew across the ocean?
Why did the paper strips move up when you blew across the ocean?
How does this model of wind blowing across the plastic tray relate to trade winds blowing across the ocean toward the mountains of HawaiК»i?
What do you think happens to the wind as it rises up the mountains?
(Hint: do you think it gets warmer or colder.)
Part B: Make a Cloud
When air cools, the water in it also cools. This can cause the water to change from a gas to a liquid. This process is called condensation.
Where in this experiment did you see condensation?
Where do you see condensation in real life?
Water needs something to collect on in order for a cloud to form. In the sky, water collects on microscopic pieces of dust, pollen, and salts. Scientists call these tiny cloud-collecting particles condensation nuclei.
What did you use as condensation nuclei in this experiment?
What did the condensation nuclei do in this experiment?
What happens when the water drops in a cloud become very large?
(Hint: precipitation!)
How is this experiment similar to how clouds form in the sky?
Culminating Activity Questions
Your experiments showed that (circle the best answer):
Air moves up / down when it blows towards the mountain.
Water from wet air will disappear / condense / evaporate when it cools.
Use these findings from question #1 as evidence to write an explanation of why clouds form when wind pushes air up a mountain.
Why do clouds and rain form more often on the windward sides of the Hawaiian Islands than the leeward sides?
Why are the windward sides of the Hawaiian Islands more green in color than the leeward sides?
(Hint: think about the effect of rain on plant growth.)
The difference in rain and plant growth between the windward and leeward sides of the Hawaiian Islands is similar to the differences along mountain ranges across the world. Use the information you have learned in this activity to explain why a mountain range might have a lush forest on its windward side and a desert on its leeward side.
Further Investigations:
Follow the link below for the activity to build a rain gauge. This actvity will help to solidify understanding of how rain forms around the islands.


")


")

